Installing a sink sounds like a challenging activity. Luckily, there are industrial piping services in Utah that can help with that. But if you’re a person who likes DIY and can take on complicated projects, then you just might be able to install a kitchen sink on your own. To get you started, here’s a step-by-step guide to installing a kitchen sink.
Step 1: Take measurements
You probably already know that different sinks have different measurements. There’s no one-size-fits-all in this situation, so you have to make sure you measure this correctly. Otherwise, you’ll run the risk of buying a wrong sized sink that won’t fit your tabletop. This will just cost you a lot of unnecessary expenses. To prevent that, take measurements at least three times to be certain you have the right numbers.
Step 2: Remove the old sink
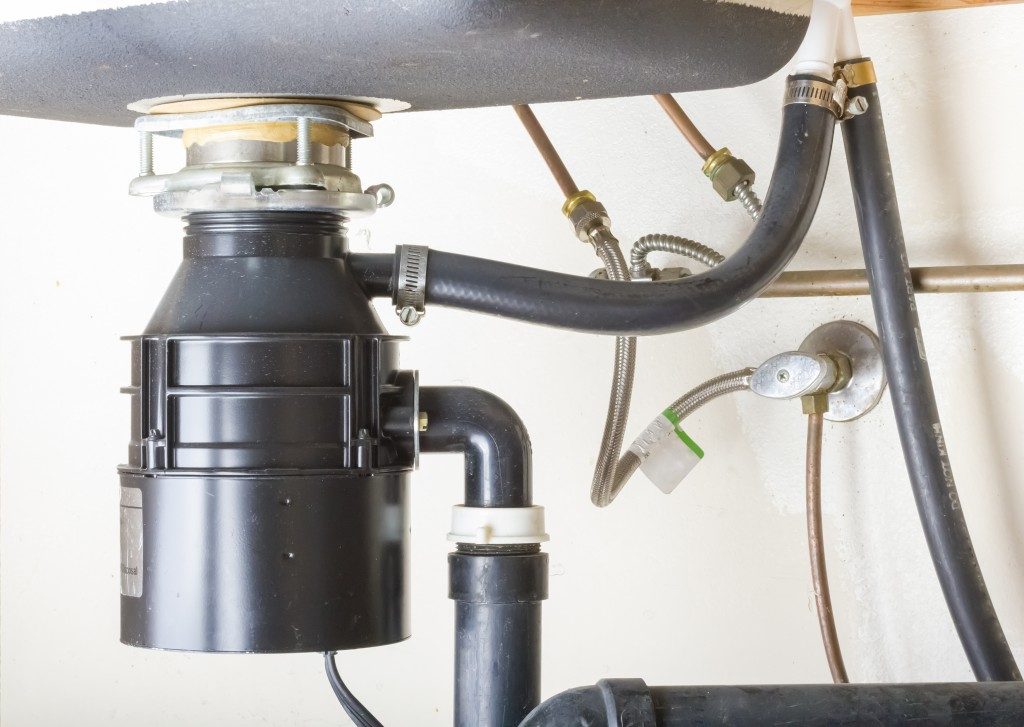
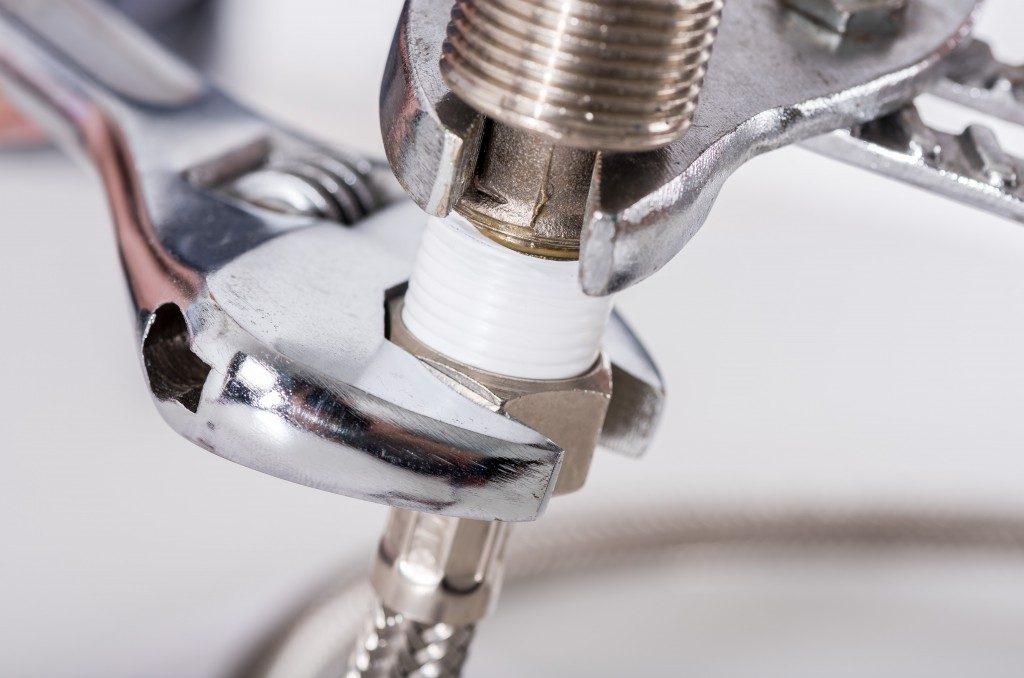
Removing the old sink is not as easy as pulling it out. There are a lot of pipes and drainage systems connected to it, so you’ll need to fully grasp everything beforehand. Before removing anything connected to your old sink, turn off the water supply first in order to avoid making a mess. You’ll find the valves under the sink, but you can also opt to turn off the main water line in your house.
If you have a garbage disposal or other systems attached to your sink, you’ll want to unplug and shut off the power for those as well. Turn on the faucet to drain the remaining water in the pipes and make sure to have a bucket with you to catch any leaks. Once you’ve successfully disconnected everything, take a knife to remove the caulk and glue keeping the sink in place. After you’ve done that, you should be able to easily push the sink from underneath and remove it from the tabletop.
Step 3: Clean up
Before installing the new sink, you want to make sure that everything is cleaned. This won’t only ensure tidiness, but it will also help you seal the new sink in place. Get rid of any putter, caulk, and glue still sticking in the tabletop.
 Step 4: Place the new sink
Before putting glue and plumber’s putty on the new sink, check what type of security devices it has in place. Some sinks have metal clips that you can easily screw in place. But for those that don’t have the same feature, you’ll need to screw in wood pieces to keep them secure.
Once you’ve set the foundation, put your new sink in and secure it either with the metal clips or your screwed wooden pieces. Run some plumber’s putty around the perimeter to ensure it is watertight. Attach all the pipes, disposal systems, and other connectors to your new sink.
Step 5: Tidy up
You’ll notice that some glue and putty would run on your countertop. To finish off neatly, simply use a knife to scrape it away. Be careful not to damage the material surrounding your sink. Clean up the rest of the area, especially underneath where you’ve made the most mess.
Step 6: Test it out
Once you’ve put everything in place, turn on the water supply and repower all the attachments. Turn on your faucet to see if it’s working well. Make sure to observe any leaking or dripping around the pipe systems.
Installing a sink is all about creating a strong foundation for it and securing everything in its proper place. Be sure that you can take on the job before doing it yourself. Otherwise, seek the help of a professional.