Before the pandemic, men have become too focused on their lives outside their homes. This involves their nine-to-five jobs, leaving them with no time for home repairs and improvements. By the time they get home, they spend the remaining time resting, watching their favorite sports channel, or spending time with the family.
Then came the COVID-19 pandemic.
In a study by Stanford University, 42% of the U.S. labor forces have adopted the work-from-home setup. As the pandemic disrupted the ordinary course of our daily lives, employees learned to embrace remote work.
As more people spend considerable time indoors, they finally get around to long-neglected home repairs. Thus, home maintenance and repairs became the new indoor hobby.
Roll up your sleeves and get moving as this guide roundup DIY basic home repairs to keep you occupied this quarantine season.
1. Fixing a Leaky Faucet or Pipe
According to the Environmental Protection Agency, the average leak in a U.S. household wastes about 10,000 gallons of water each year. This only leads to one thing: wasted water means wasted cash.
A leaky pipe in the kitchen or bathroom often involves a loose or broken compression nut or a worn-out washer. But before you start, turn off the water to the sink or temporarily shut off the water to the house. You can find the shut-off valve either near the sink or as far as the basement or laundry room.
Double-check if the water is no longer running in the pipe. Afterward, twist off the compression nuts. Fixing a drain pipe involves tightening the slip-nut near the curved pipe or P-trap. You can also clean the P-trap for any unpleasant dirt.
Once you’re done replacing the P-trap or washer, screw it back in and switch back on the shut-off valve.
2. Clearing a Clogged Toilet
Clearing a clogged toilet is often the most stressful repair for any homeowner. But before calling in a professional plumber, a few repairs can do the trick.
Before anything else, double-check if there is no foreign object inserted in the toilet, such as toys. Fish it out using sturdy gloves.
If no signs of foreign objects, use a plunger. Drain plungers come in different types, so make sure you are using a proper toilet plunger. Begin by adding enough water to let the suction cup submerge. Make at least 8 to 10 downward thrusts.
Use a toilet auger if the plunger doesn’t work. Thread the auger from the toilet bowl until you reach the clog. Turn the crank to remove the clog out.
3. Reinforcing a Wobbly Metal Fence
Whether you like it or not, a metal fence will soon sag and become unstable as the area can no longer support its weight. A quick repair involves replacing its concrete footing.
A wobbly metal fence post requires a steady brace made of timber. Dig a few inches of the area around the concrete footing and break it down using a sledgehammer and chisel. Using a plumb, adjust the post to your desired position and reposition the bracing to keep it in place. Top it with a concrete footing and allow it to dry. After 48 hours, it is now safe to remove the bracing.
For fences that require major replacements, you can try aluminum fence posts for a sturdier metal barrier.
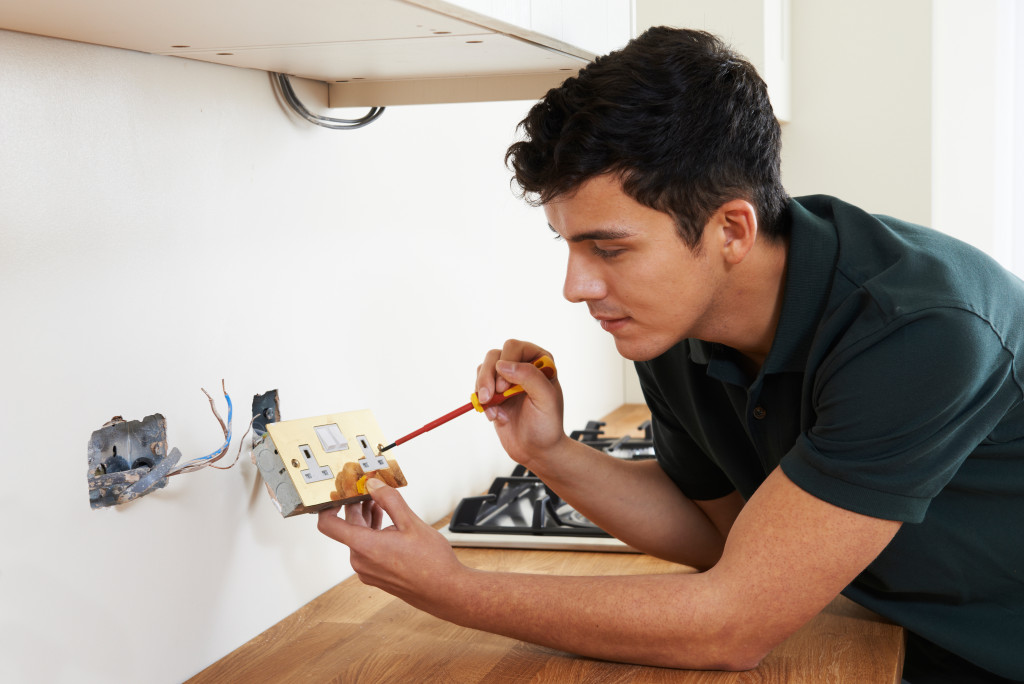
4. Installing a Light Switch

Replacing a light switch is what most people are afraid to do because it involves electricity. But installing a new light switch is a necessary repair that doesn’t require a professional.
For an added precaution, turn off the circuit breaker before touching any electric switch. Remove the faceplate using a flathead screwdriver. Detach the switch from the wall using a Philips-head screwdriver.
Once you notice the two wires attached to the screws, test it first to ensure electricity is no longer running. Afterward, remove the cables and connect them to the replacement switch. Once you’re done, return everything in order.
5. Patching a Hole in the Wall
Screw or nail holes are eyesores that can simply ruin pristine wallpaper. They often result from hanging picture frames or wall mountings. You can patch it up using spackling paste and a putty knife. Fill the hole by pressing a good amount of spackle. Once it dries, use sandpaper to sand it down. Apply a paint coat for a seamless fix.
Large holes require a bit of work. Look for some scraps and cut a piece of drywall. Screw the scrap drywall inside the wall by drilling screws around the hole, then apply drywall tape on the seams. As a finishing touch, spread some joint compound on the area using a putty knife and sand it down.
House repairs don’t simply end on the following repairs mentioned above. With just a simple Google search and a few essential tools, it might surprise you on the number of things you can fix at home.
If some problems require a professional’s help, it is best to call in the home service with the right expertise and tools. In the end, safety should be your top priority.